How to Plan a Supermarket Floor Plan: The Complete Guide
A step-by-step guide to supermarket floor planning: layout types, aisle widths, department sequencing, front-end ratios, back-of-house space and the mistakes that quietly cost you sales.
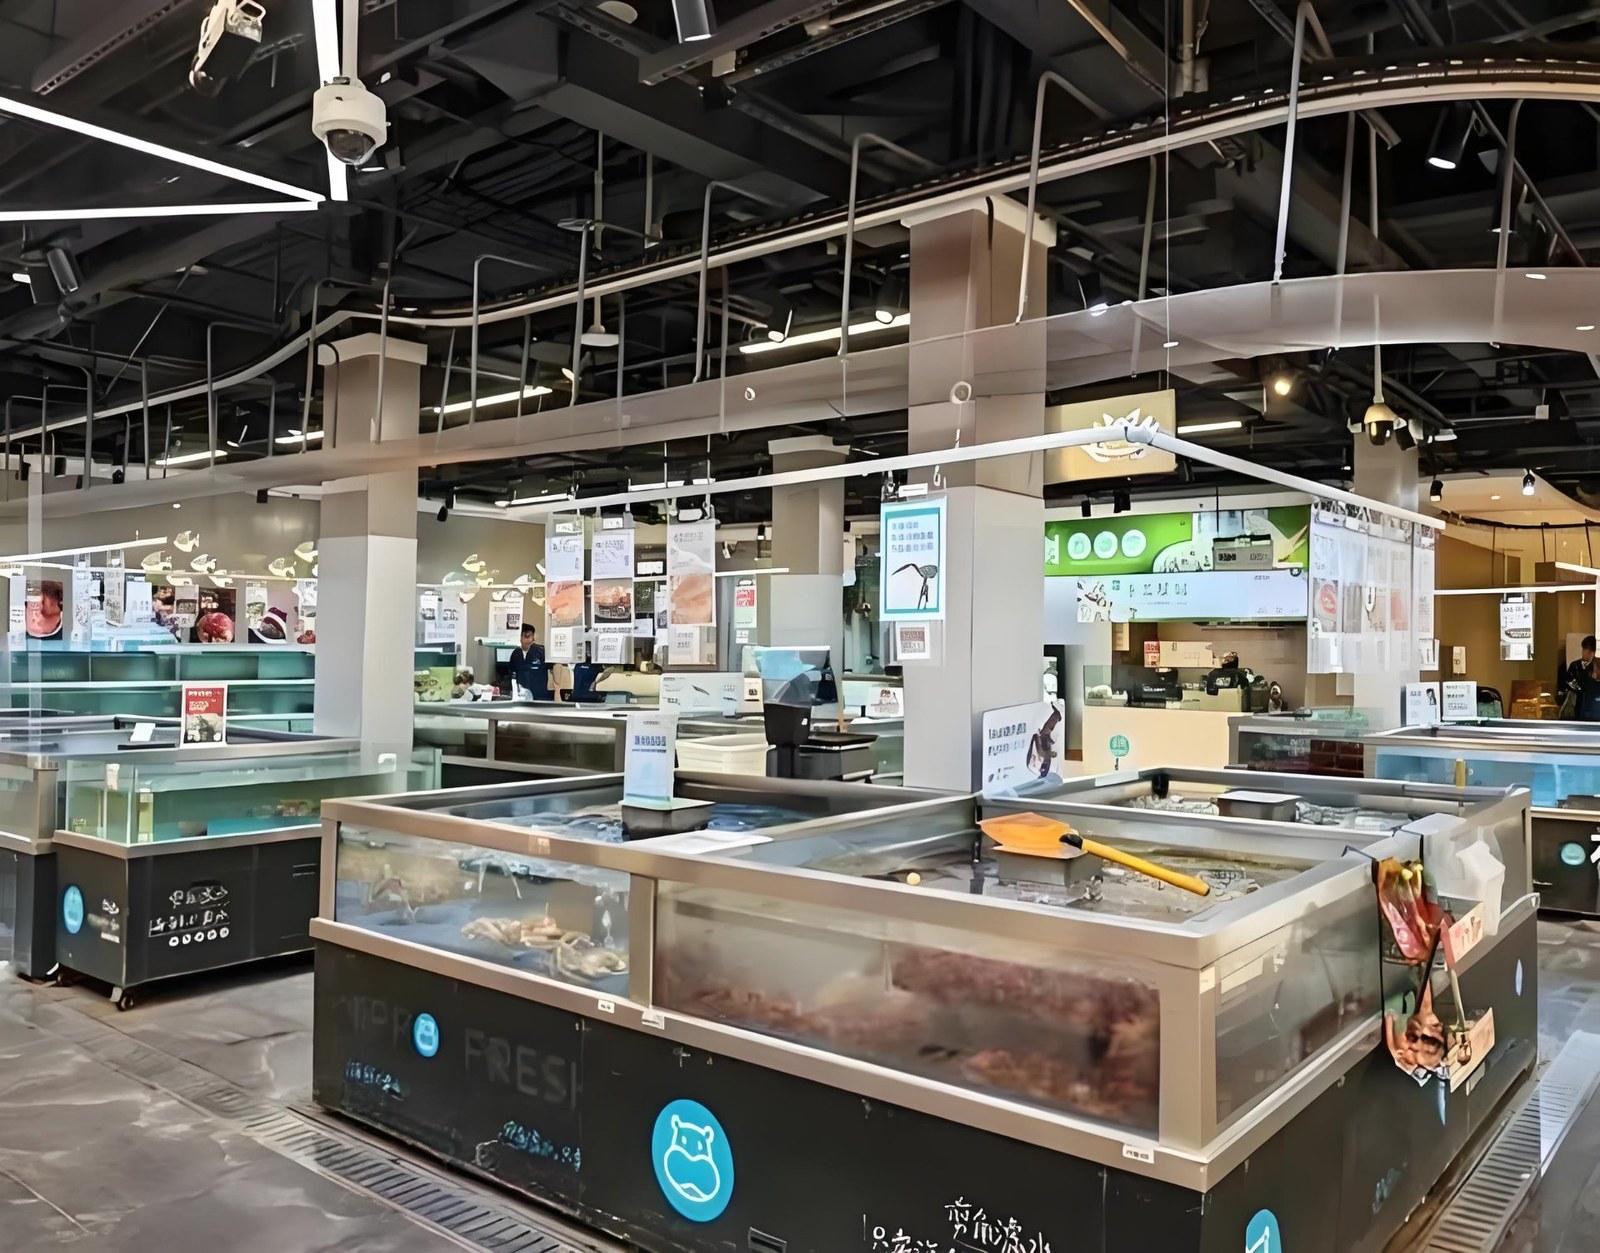
Grocery is the most engineered retail format on earth. Every department has a known sales-per-square-foot figure, every aisle has an expected traffic count, and the whole plan is tuned so that a shopper who walked in for one carton of milk passes several thousand other products on the way to it.
That is not an accident. A supermarket floor plan is a sales machine that happens to look like a floor.
Whether you are planning a 300 m² neighbourhood fresh store or a 5,000 m² supermarket, the planning sequence is remarkably consistent: strategy first, then layout type, then the perimeter, then the centre-store grid, then the front end, then back of house. Get the order wrong and no amount of merchandising, signage or lighting will rescue the numbers afterwards.
This guide walks the full process, with the dimensions, ratios and rules that actually get used on live projects.
1. Start With Strategy, Not Shelves
Most bad floor plans are not bad drawings. They are drawings of a brief nobody agreed on. Before you move a single gondola, fix five things:
- Format and size. How much net sales floor do you have (excluding back of house)? This single number drives almost every other decision.
- Shopping mission. Weekly family stock-up, daily top-up, fresh-food-led, or convenience? A store built for weekly missions and a store built for daily top-ups need opposite layouts.
- Shopper profile. Basket size, time in store, car versus foot traffic, age mix, whether they shop with children.
- Category strategy. Which categories lead, which follow, and which are there purely to build basket (destination categories).
- Constraints. Structure grid, columns, ceiling height, dock position, fire egress, plumbing and refrigeration runs. These are fixed costs - design around them, not against them.
| Format | Typical net sales floor | Dominant layout | Planning emphasis |
|---|---|---|---|
| Convenience / small urban | 5,000–20,000 sq ft (465–1,860 m²) | Grid, compressed | Speed, prepared food, self-checkout |
| Community fresh grocery | 3,000–11,000 sq ft (300–1,000 m²) | Loop / racetrack | Fresh at 40–50% of floor area |
| Conventional supermarket | 35,000–50,000 sq ft (3,250–4,650 m²) | Grid + racetrack perimeter | Full perimeter, 12–20 centre aisles |
| Supercentre / warehouse club | 100,000+ sq ft (9,300+ m²) | Grid, wide | Pallet display, flatbed-cart aisles |
2. Choose the Right Layout Type
There are three frameworks. Each serves a different economic objective, and most real stores are a hybrid.
Grid. Parallel aisles, shelves on both sides. Maximum shelf space per square metre, minimum search time - ideal when shoppers know what they want. The trade-off is that a grid is boring: shoppers stay on their list and rarely browse. This is the default for pharmacies and price-led grocery.
Racetrack (loop). One wide main path circles the sales floor, with shorter aisles branching off. Because every shopper follows the same path, you control the sequence of what they see. This is the classic supermarket layout, and it is the main reason a shopper who came for milk leaves with three extra items. Loop and directed-path designs commonly add 10–30% to average basket size versus an unstructured grid.
Free flow. No fixed aisles - islands and asymmetric displays only. It slows shoppers down and maximises discovery, but it uses the most floor space and needs more staff attention. Do not run an entire grocery store on free flow. Use it for 10–15% of the floor, typically for a premium fresh corner or specialty section.
| Grid | Racetrack (loop) | Free flow | |
|---|---|---|---|
| Best store size | Up to ~2,000 sq ft | 2,000–5,000+ sq ft | Section within a larger store only |
| Shelf space per sq ft | Highest | Medium | Lowest |
| Browse time triggered | 3–5 min | 8–12 min | Longest |
| Typical aisle width | 4–5 ft | 6–8 ft | No fixed aisles |
| Setup complexity | Low | Medium | High |
The practical answer: run a racetrack perimeter with a grid centre store. The loop guarantees exposure to fresh and promotional zones; the grid delivers the density that pays the rent.
3. Sequence the Perimeter First
The perimeter is where the plumbing, drainage and refrigeration are, so it is also where the fresh departments live. Perimeter fresh is what brings people into the store - and what lets you charge for freshness.
The sequence almost never changes:
- Produce goes first - immediately inside the entrance. It signals freshness, carries high margin, and sets the shopper's pace for the whole trip.
- Bakery and deli follow, because aroma and theatre slow shoppers down.
- Meat and seafood sit on the back wall, where the refrigeration plant and prep rooms are closest.
- Dairy sits in the far corner. Nearly every basket contains dairy, so placing it last forces a full traverse of the floor. This is deliberate, not careless.
- Frozen sits on the way back to checkout, so the last thing picked up stays frozen.
Two numbers worth designing against:
- Reserve 8–12% of net sales area for produce in suburban formats (6–8% in convenience formats). For a 25,000 sq ft store that is roughly 1,500–3,000 sq ft of produce.
- A produce island placed within 10–15 ft of the main entrance typically lifts impulse purchase rates by 12–18% and adds around $3.50 to the average basket.
4. Build the Centre-Store Grid
Packaged grocery lives in the middle, and the geometry is well settled:
- Aisle length: 40–60 ft (12–18 m). Never run an aisle much beyond 60 ft without a cross aisle. Shoppers read long unbroken aisles as a corridor and avoid them.
- Aisle width: 7–9 ft (2.1–2.7 m) in a conventional supermarket - enough for two trolleys to pass with room to turn.
- Gondola height: 60–72 in (150–180 cm) in larger stores; 48–54 in (120–137 cm) in minimarts and small formats, so sightlines stay open across the whole floor.
- Group by mission, not alphabetically. Baking together, breakfast together, snacks near beverages, household and pet toward the edge of the floor. Alphabetical order is a warehouse convention, not a shopper convention.
- Own the golden zone. The band between 3 and 5 ft (90–150 cm) from the floor is where the eye lands. Products on the bottom shelf receive roughly 70% less visual engagement than those at eye level. Put margin in the golden zone, bulk below, brand imagery above.
- Treat end caps as prime real estate. End caps facing the main racetrack can drive 20–30% of category sales when paired with cross-merchandising and readable signage. One theme per end cap, refreshed regularly, with visible breathing room.
5. Design the Front End
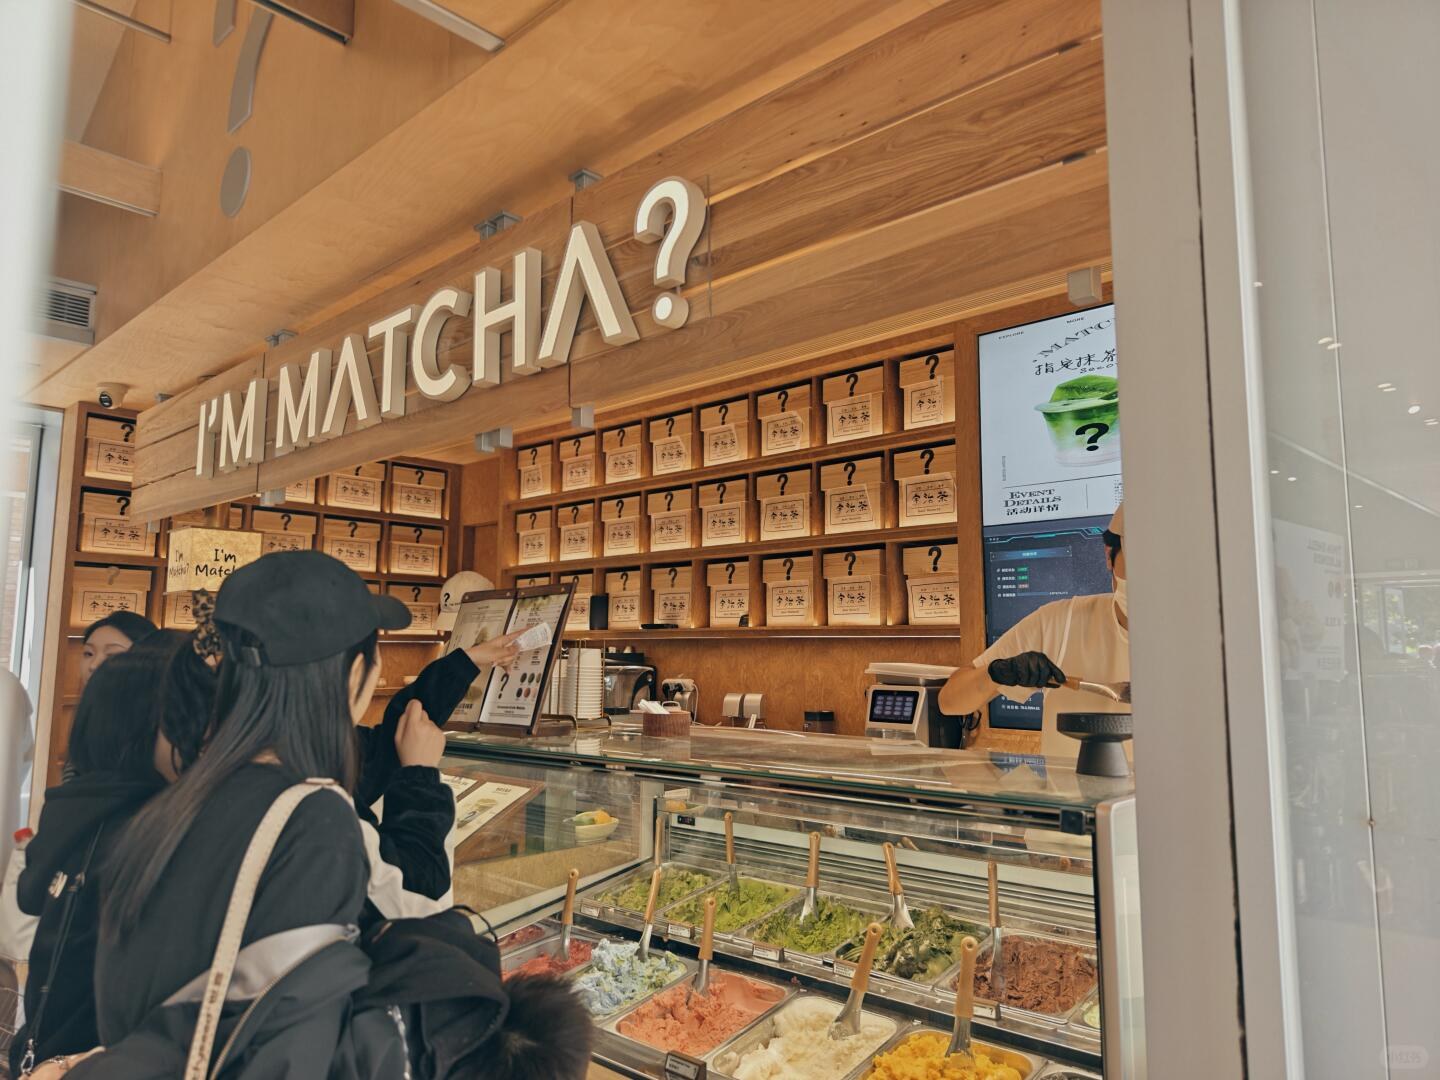
The front end is the highest-value square footage in the building, and the easiest to under-plan.
- Checkout capacity: a common planning ratio is one staffed lane per 1,600–2,150 sq ft (150–200 m²) of sales floor, adjusted downward as self-checkout takes a larger share. Under-provide lanes and you cannot fix it later - the space simply is not there.
- Queue geometry: a serpentine single-file queue lets you line the path with small, high-margin items, turning waiting time into selling time. Straight parallel lanes are faster but generate no impulse revenue.
- Separate entry and exit paths to reduce congestion and shrink. Where they share a door, add a clear divider.
- Impulse merchandising: lane ends and the area around the checkout are where decision fatigue meets low-price, low-risk items. Reserve a 20–30 sq ft end cap for grab-and-go and gift bundles - these typically carry 35–40% higher margin.
- Online order pickup is now standard. Plan a staging cooler near the front plus a dedicated pickup door or curbside bay at the design stage. Retrofitting pickup into front-end space after opening is one of the most common and most expensive planning errors.
6. Plan the Back of House
Back of house takes 20–30% of the building - more if you cut meat, bake, or prep in store.
- Receiving on the back wall, with dock door(s) sized to your delivery vehicles.
- A back corridor that never crosses the sales floor. Product must be able to move from receiving to any prep room without being wheeled through the shop.
- Walk-in coolers and freezers, dry backstock, compactor and baler, staff areas, and a store office with a sightline to the receiving door.
- Refrigeration plant in a mechanical room or on the roof, with pipe routes that do not cross public areas.
7. Get the Dimensions Right
Keep this table on the drawing board.
| Element | Recommended dimension | Why |
|---|---|---|
| Standard aisle width | 48 in / 1.2 m minimum | Two trolleys pass comfortably |
| Primary / racetrack aisle | 10–12 ft / 3.0–3.7 m | Invites browsing, carries peak flow |
| Secondary aisle | 4–6 ft / 1.2–1.8 m | Balances reach and movement |
| Absolute minimum | Never below 3 ft / 0.9 m | Below this, dwell time collapses |
| Gondola aisle length | 40–60 ft / 12–18 m max | Longer needs a cross aisle |
| Gondola height (large store) | 60–72 in / 150–180 cm | Keeps perimeter sightlines |
| Gondola height (minimart) | 48–54 in / 120–137 cm | Open sightlines, staff oversight |
| Golden zone | 3–5 ft / 90–150 cm from floor | Highest margin placement |
| Produce area | 8–12% of net sales floor | Suburban formats; 6–8% convenience |
| Back of house | 20–30% of building | More with in-store prep |
| Checkout lanes | 1 staffed lane / 1,600–2,150 sq ft | Adjusted for self-checkout |
On the 3 ft floor: there is a well-documented behavioural effect - when a shopper's back is brushed by another shopper or by a fixture, they abandon the display and leave the area, even if they were interested. Good discounts do not override it. Below 3 ft, shoppers stop browsing and start commuting.
Accessibility: keep primary circulation routes wide enough for wheelchairs and mobility aids, and keep intersections near the entrance and checkout clear of displays so they do not become bottlenecks.
8. Layer In Lighting, Signage and Psychology
Once the geometry is fixed, the sensory layer does the persuading.
Light by zone, not uniformly. Different products need different colour temperatures:
| Zone | Colour temperature | Effect |
|---|---|---|
| Produce | 2,700–3,000 K warm white | Makes reds and yellows vivid |
| FMCG aisles | 4,000–5,000 K neutral | Clean, label-readable |
| Dairy & frozen | 5,000–6,500 K cool white | Reinforces "cold and fresh" |
| Checkout | Bright neutral | Clear visibility of items and totals |
Use fixtures with CRI above 80 so produce colour reads true. And light the shelves, not the floor - vertical or linear fixtures mounted over each aisle put light top-to-bottom across the shelf face rather than wasting it on the walkway. For a deeper dive see our grocery store lighting guide.
Behavioural levers worth knowing:
- Right-turn bias: roughly 60–70% of shoppers turn right on entering. Putting produce or bakery in that first right-hand zone shapes perception and pace immediately.
- In-store decision-making: industry research has put the share of purchase decisions made inside the store at up to 82% in certain categories. The floor plan is where those decisions are won or lost.
- Tempo: slowing music to 60–80 BPM has been associated with roughly 15–20% longer linger time.
- Signage: shoppers decide whether to walk down an aisle from several metres away. If they cannot read it from there, the sign does not exist.
9. Small-Format and Community Grocery: A Different Playbook
Shrinking the big-store plan does not work. Small formats need their own rules.
Community fresh grocery (roughly 300–1,000 m²):
- Fresh departments take 40–50% of floor area - this is the traffic engine, not a decoration.
- Place fresh at the entrance or in the centre, not tucked at the back.
- Aisles of 1.2–1.5 m - narrow enough to be efficient, wide enough to avoid the congestion reflex.
- Use a loop circulation pattern to pull shoppers past both the fresh cases and the promotional zone.
- Two or three island displays (3–5 m² each) for seasonal produce and volume items; place chilled cases for dairy and frozen adjacent to the fresh run.
- Adjacency does the selling: put seasoning next to fresh produce, sauces next to meat, drinks next to snacks.
Minimarts:
- Lean on wall shelving around the perimeter and keep the centre open.
- Use two or three gondola runs rather than a full grid, focused on the highest-turnover categories.
- Keep gondolas at 48–54 in so one person can see the entire floor.
10. Which mistakes quietly cost you sales?
- Letting shoppers meet frozen or household goods first instead of produce.
- Running centre aisles beyond 60 ft with no cross aisle.
- Designing prep rooms so product must travel across the sales floor from receiving.
- Under-providing checkout lanes for the Saturday peak.
- Bolting on online pickup after opening, stealing front-end space.
- Creating dead-end aisles - shoppers read them as mistakes and reverse out.
- Cluttering the first 5–10 ft inside the entrance, which should feel open and calm.
- Copying a competitor's plan without their shopper profile and mission.
- Treating lighting as a uniform "bright enough" decision instead of a zoned one.
- Skipping the walk-through test and discovering bottlenecks after the fit-out.
11. Test the Plan Before You Build
Paper tolerates everything. People do not.
- Walk it. Tape the plan out at full scale on a warehouse floor and push a trolley through it. Problems invisible on a drawing become obvious within thirty seconds.
- Check sightlines from the entrance and from the end of every main aisle. What can a shopper see, and what is hidden?
- Simulate the peak. Model a Saturday-morning flow: entry, perimeter, centre aisles, checkout. Where does it jam?
- Verify the fixed rules - fire egress, accessibility routes, load-bearing structure, refrigeration runs.
- Consider a pilot for a new format: a temporary pop-up, a seasonal island test, a category relocation test. Measure basket size and dwell time, then commit.
- Then lock the plan and produce the drawing set: general arrangement, fixture plan, category plan, lighting plan, power and data.
Key Takeaway: A floor plan is not a drawing of a shop - it is a sequence of decisions about where people walk and what they see first. Plan in this order: strategy → layout type → perimeter sequence → centre grid → front end → back of house → sensory layer → test → lock. The dimensions here are starting points; your shopper profile and local code move the numbers.
Frequently Asked Questions
What is the ideal aisle width in a supermarket?
7–9 ft (2.1–2.7 m) in a conventional supermarket, so two trolleys pass comfortably. Small formats can run 4–6 ft, but never below 3 ft (0.9 m) - below that, shoppers stop browsing and abandon displays when they are brushed.
Where should produce go in a supermarket floor plan?
Immediately inside the entrance, ideally in the first right-hand zone because of shoppers' right-turn bias. Produce signals freshness and sets the pace for the trip. Place dairy in the far corner instead, since almost every basket contains it and it forces a full traverse of the store.
How many checkout lanes does a supermarket need?
A common planning ratio is one staffed lane per 1,600–2,150 sq ft (150–200 m²) of sales floor, reduced as self-checkout takes a larger share. Plan for the Saturday peak, not the weekday average - front-end space cannot easily be recovered later.
How much of a supermarket is back of house?
Typically 20–30% of the total building, and more when the store has in-house bakery, butcher or prep kitchens. It holds receiving, walk-in coolers and freezers, backstock, staff areas, the compactor and the store office.
Related: how store layout drives long-term profit →
Related: adding a food court to a supermarket →